Browse Category

Releases

Barbell Weight Calculator – Android App

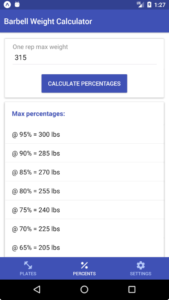
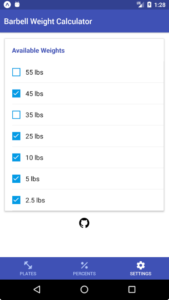
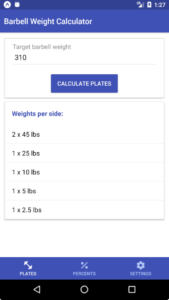
I’ve published my first Android app! ? This is yet another Barbell Weight Calculator, pretty much a copy of my web app version. The main differences are: 1. it is an installable Android app from the Google Play Store, and 2. it can calculate percentages of your one rep max!

Since this app was created using React Native, the code can be built for Android devices, as well as iOS devices. I would love to put this app in the Apple App Store, however, Apple charges a yearly developer fee of $99! Google, on the other hand, charges only a one-time developer fee of $25. So in the mean time, I’ll only be supporting the Android version of the app.

If you have an Android phone, check out the Play Store link below! Otherwise, feel free to take a look at the code on GitHub.

Google Play Store: https://play.google.com/store/apps/details?id=com.seewes.barbell

GitHub: https://github.com/doobix/barbell-native

Screenshots:

Barbell Weight Calculator

Hi! Haven’t updated this blog in a while. Just wanted to say that I made a little web app using React to make calculating barbell weights easier.

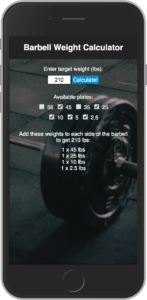
For example, if we’re trying to lift 210 pounds, which plates do we need to get? By using the web app, it quickly tells us that each side of the barbell needs to have: 45lbs, 25lbs, 10lbs, and a 2.5lbs.

Check out the web app here: http://barbell.seewes.com

GitHub repo here: https://github.com/doobix/barbell

Screenshot:

Integrating Counter-Strike: Global Offensive with Philips Hue

csgo-c4-hue

Recently, Valve had released their Counter-Strike: Global Offensive game state integration for developers to use. This allows the game client to send all game data, such as the player’s health, guns, ammo, frags, etc. to a HTTP POST endpoint server.

After seeing the PGL Arena Effects in the DreamHack Cluj-Napoca CS:GO tournament a couple of months ago, I decided to make full use of my Philips Hue lights in my room by recreating the C4 bomb lighting effects.

Coding

Since I’ve been coding in Python a lot recently, I stuck with this language for this project. First, I had to create the HTTP server to receive the POST game state data, so I used the Flask microframework. I launched the Flask server and joined a game in CS:GO, and immediately I was seeing tons of JSON being received in the terminal window. All I really needed was the C4 bomb information, which I was able to find in data[’round’][‘bomb’]. By checking that key, I noticed there were 3 values if the key existed: planted, exploded, and defused. If the bomb isn’t planted, there won’t be a bomb key in the round object at all. So after getting the bomb status, I made the server write the result to a file conveniently named bomb_status.

Now I had to do the fun part — making my Philips Hue lights turn on and change colors. I went step by step with the Philips Hue API Getting Started guide, and it was very easy to follow and understand the RESTful interface. Once I understood how to control the Hue lights, I wrote a 2nd Python script for reading the bomb_status file. In this 2nd script, I have a while loop that runs indefinitely, with a 250ms wait time in between each loop. In each loop iteration, it gets the bomb status and goes through a series of if-statements to determine what to do. Here’s the run down of it:

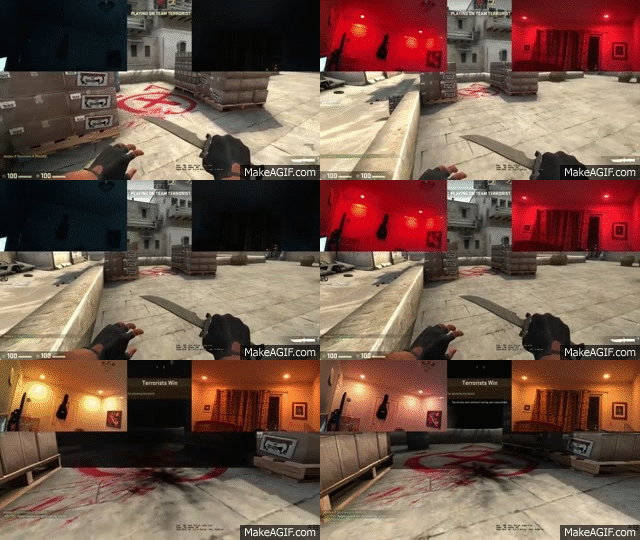
  • if bomb is planted: make each light blink red 1-by-1.
  • if bomb is planted and plant time has been >= 30 seconds: make all lights blink red every second.
  • if bomb is exploded: make all lights turn orange.
  • if bomb is defused: make all lights turn blue.
  • if bomb has no status: make all lights turn white.

And that’s basically it.

Final Result

My Python code is now on GitHub:
https://github.com/doobix/csgo-c4-hue

I have created a Node.js version of the same code, also on GitHub:
https://github.com/doobix/csgo-c4-hue-node

A video of the script in action is uploaded to YouTube:
https://www.youtube.com/watch?v=QBdI54MHB-k

Reddit thread:
https://redd.it/3wjpgg
csgo-c4-hue

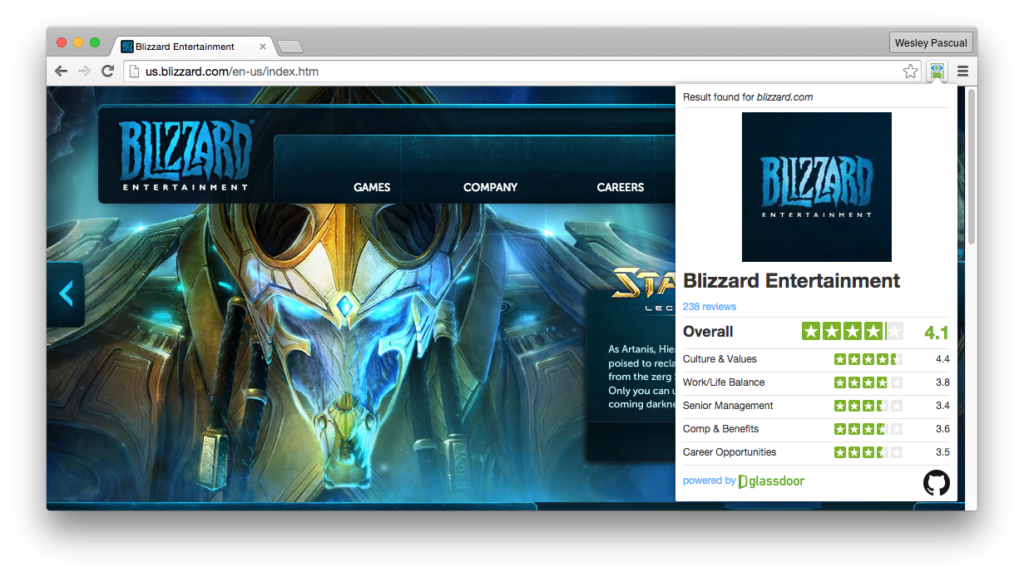
seeglassdoor – My First Chrome Extension

After graduating from Hack Reactor last month, I’ve been looking for companies to apply to. One thing that I found myself doing a lot of was visiting a company’s website, and then going to Glassdoor to see how employees rate that company. So I thought, wouldn’t it be nice to have a 1-click button that would display the Glassdoor ratings on demand? It would save a lot of time opening a new tab, going to Glassdoor.com, and then searching for the company.

Seeing that no such extension existed in the Chrome Web Store, I decided to create one myself. I had modified existing Chrome extensions before, but this was my first time creating a brand new extension from scratch.

Introducing… seeglassdoor!

The most difficult part was to figure out how to grab a URL from a current tab.

To grab a URL of a tab that you are viewing, you need the “tabs” permission in your manifest.json  file:

"permissions": [
  "tabs"
]

Then in your javascript, you will be able to use this code:

chrome.tabs.query({'active': true, 'lastFocusedWindow': true}, function (tabs) {
  var url = tabs[0].url;
  console.log(url);
});

Overall, this project was not a very difficult one, and was a good learning experience for my first Chrome extension. Feel free to take a look at my extension below.

Download seeglassdoor from the Chrome Web Store: https://chrome.google.com/webstore/detail/seeglassdoor/cgganckkpjppenjelhbimliplciledbb

GitHub seeglassdoor Project Repo: https://github.com/doobix/seeglassdoor