Browse Category

Web Development

Stop “npm install” in Heroku

I have a node.js project that I want to run on Heroku, but with my own modified node plugins in the node_modules folder. When deploying the project to Heroku, it keeps installing brand new node dependencies, which overwrites my modified ones.

According to this Stack Overflow answer, “npm install” always runs and cannot be blocked or skipped. However, there is one workaround, which is to create a .npmrc file in the project root with the following contents: dry-run

The dry-run setting tells npm that we do not want to make any changes to the node_modules folder, thus keeping our node plugins unaffected!

Install a specific yarn version

Need to install a specific version of Yarn? Simply run the command below in your terminal. Replace 1.19.1 with the yarn version you want to install.

curl -o- -L https://yarnpkg.com/install.sh | bash -s -- --version 1.19.1

Unit Testing Private Member Variables in TypeScript with React/Enzyme

So let’s say I have a React component written in TypeScript with a private member variable that I would like to unit test. The component is very complicated and I need to make sure the private variable has the correct value, and it looks something like this:

export class HelloWorld extends React.Component<Props, State> {
  private message = "foobar";
  public render() {
    return <div>Hello World</div>;
  }
}

If I mount the component with Enzyme, I can find the component, but I cannot see the private variables inside it. One thing I can do is to create an interface of that component just for testing purposes. In the interface, I can reveal the private variables, like this:

interface HelloWorldInstance extends React.Component<Props, State> {
  message: string;
}

With this interface created, I can mount the component, get the instance of it, and do a type assertion. Now I can test that private variable without TypeScript complaining:

describe("HelloWorld", () => {
  it("has correct message", () => {
    const wrapper = mount(<HelloWorld />);
    const helloWorld = wrapper.find(HelloWorld);
    const helloWorldInstance = helloWorld.instance() as HelloWorldInstance;
    expect(helloWorldInstance.message).toBe("foobar");
  });
});

Deploying Next.js with Express on Elastic Beanstalk

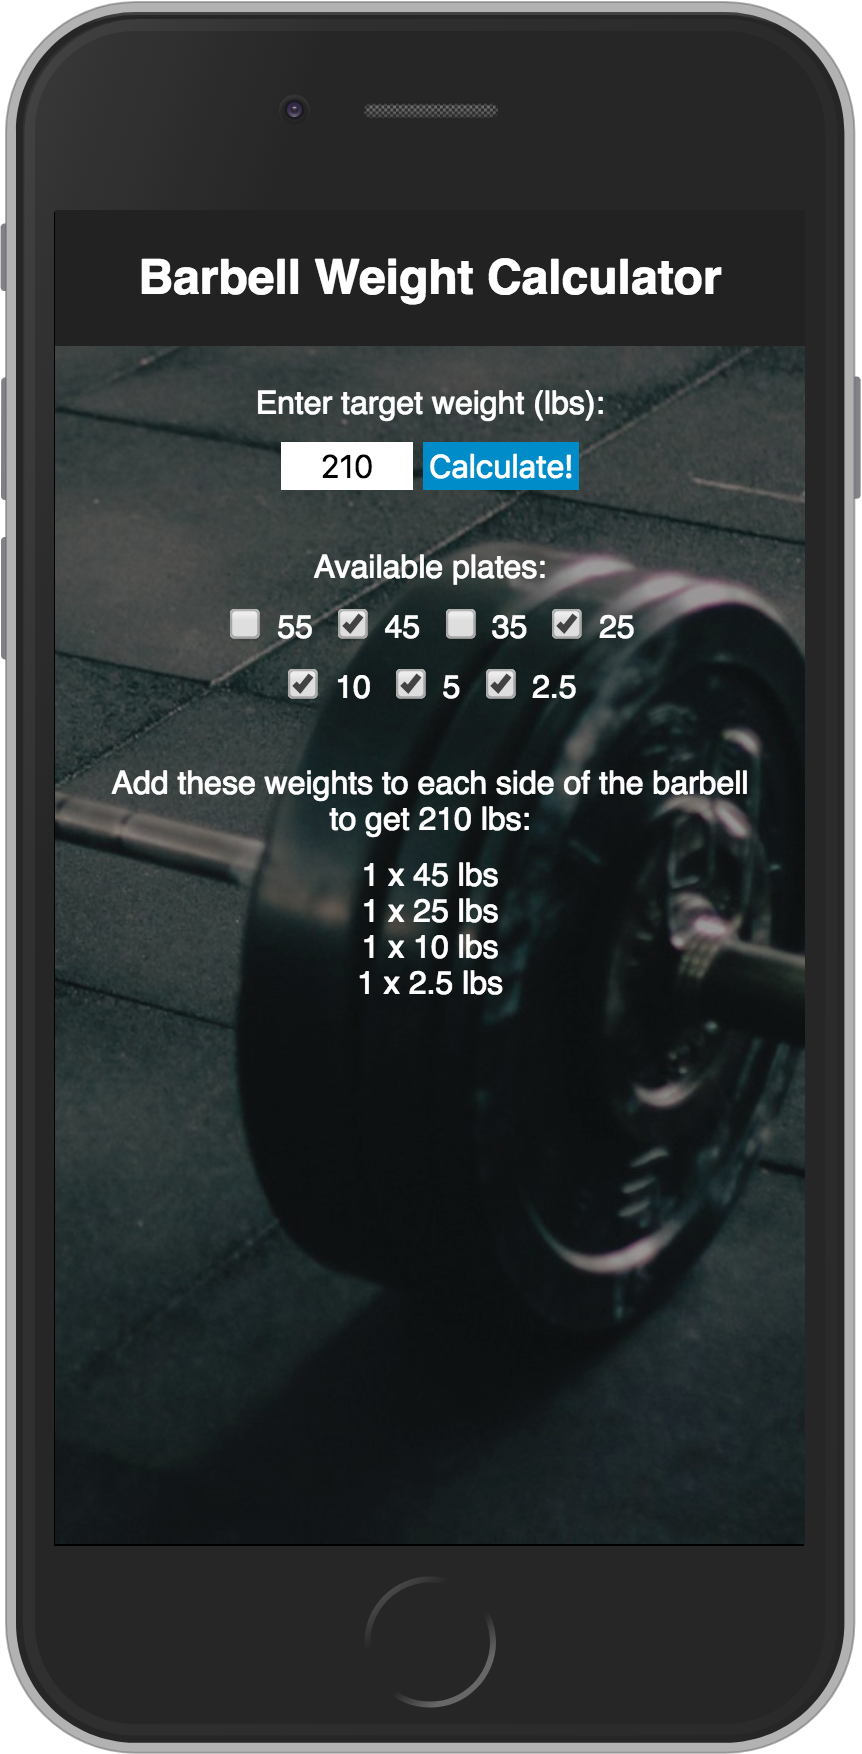
I recently made a very simple website with Next.js that would display the 5 newest YouTube videos from a particular channel using the YouTube Data API. I quickly learned three things after deploying the code to Netlify and Now:

  1. Deploying to Netlify and Now only created a static version of the website.
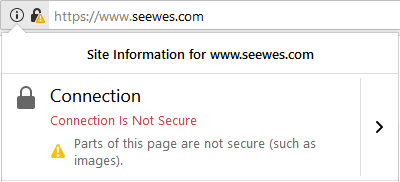
  2. The private API key was visible in the HTML code.
  3. The 5 newest YouTube videos were going to stay the same until the next deploy.

At this point, I decided to look online to see how to run an Express server with Next.js so I can keep the private API key hidden in the backend and so I can always display the 5 latest videos without needing to redeploy my code. Here are the steps I took starting from the beginning.

Install Dependencies

Run these 2 lines to initialize the project and install Next.js, React, and Express:

npm init
npm install --save next react react-dom express

Now edit the package.json file to make the scripts section look like this:

"scripts": {
  "dev": "node server.js",
  "build": "next build",
  "start": "next start",
  "deploy": "NODE_ENV=production next build && NODE_ENV=production node ./server.js"
},

Tip: Use “nodemon server.js” when you are devving so every time you make a change to the server.js file, it will automatically restart your server. Run npm install -g nodemon to install the utility.

Create a Next.js Page

Create a folder called “pages” in the root directory with a file named index.js inside the folder. Add the following code into pages/index.js:

function Home() {
  return (<div>Hello next.js on express!</div>);
}
export default Home;

This small block of code simply displays a short message when someone visits the website.

Create Express Server

In the root directory, create a server.js file and copy/paste the following code. Credit to tilomitra’s blog post: Building Server-rendered React Apps with NextJS.

const express = require('express');
const next = require('next');
const dev = process.env.NODE_ENV !== 'production';
const port = process.env.PORT || 3000;
const app = next({ dev });
const handle = app.getRequestHandler();
app.prepare()
.then(() => {
  const server = express();
  server.get('/test', (req, res) => {
    res.send('Hello from express!', 200);
  });
  server.get('*', (req, res) => {
    return handle(req, res);
  });
    
  server.listen(port, (err) => {
    if (err) throw err;
    console.log(`> Ready on http://localhost:${port}`);
  });
})
.catch((ex) => {
  console.error(ex.stack);
  process.exit(1);
});

The ~30 lines of code here basically creates an express server where you can have custom endpoints for you to do API data fetching. For example, you can create a /api/videos endpoint for fetching and returning JSON data by adding this block:

server.get('/api/videos', async (req, res) => {
  const apiResponse = await fetch('https://example.com/api');
  const apiData = await apiResponse.json();
  res.json({
    totalVideos: apiData.totalResults,
    videos: apiData.items,
  });
});

In the /pages/index.js file, you can do a fetch on the /api/videos endpoint and render the data however you’d like.

Deploy to Elastic Beanstalk

Now that the code is done, I decided to deploy to AWS Elastic Beanstalk because I have used AWS for other projects before. It was fairly easy but I will outline the steps.

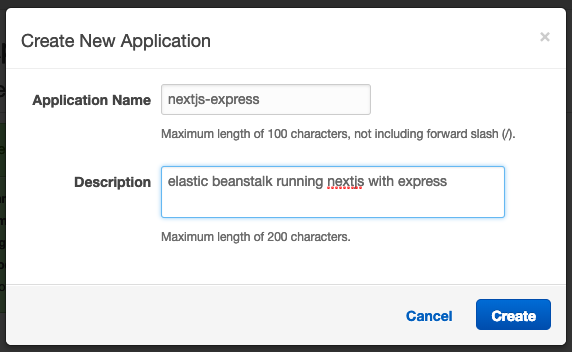
First, go to the Elastic Beanstalk page and click on “Create New Application” at the top right corner. Fill out the application name and a description.

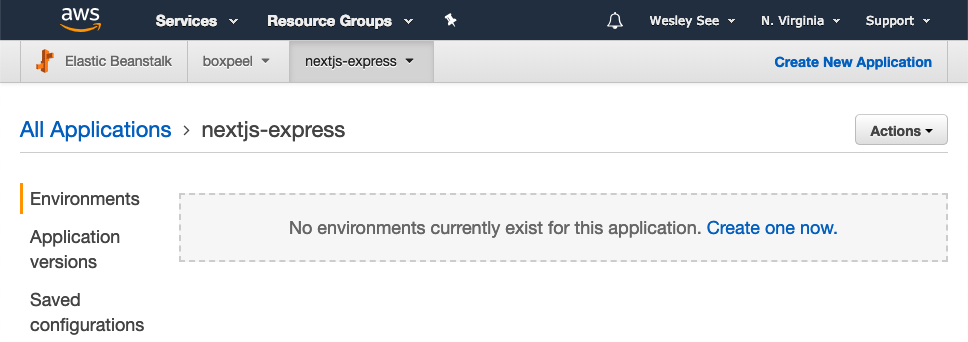
You should now be on the newly created application page and it’ll tell you to create a new environment.

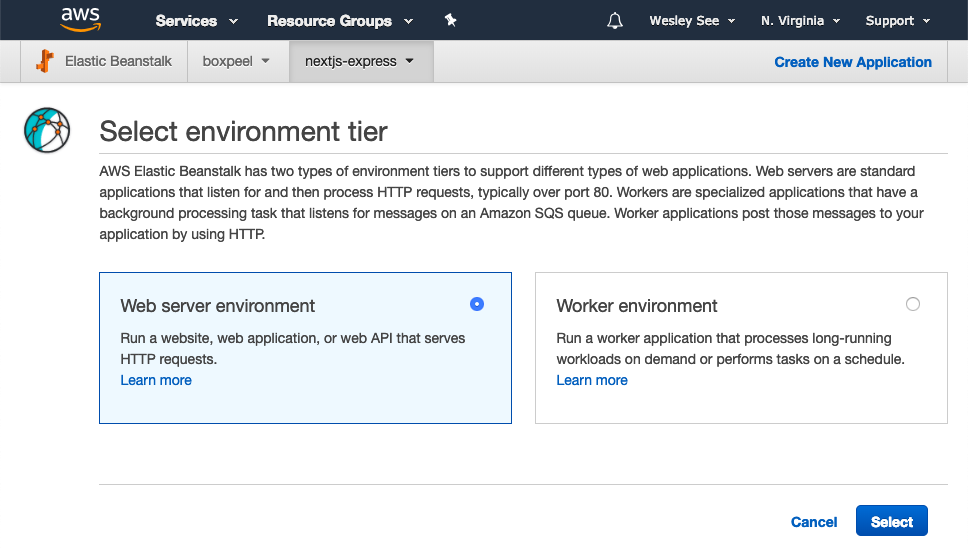
Click on “Create one now” and select “Web server environment“.

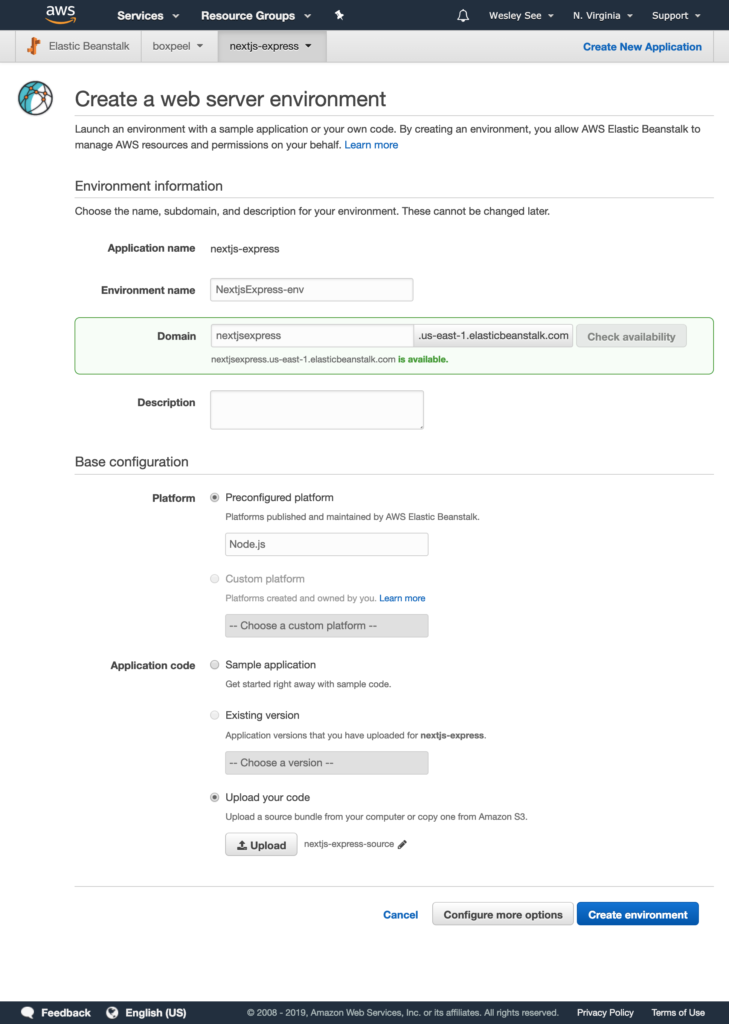
On the next page, you can name the environment anything you’d like, pick a nice domain, select Node.js as the preconfigured platform, and then upload a zip file of the directory with all of the code created from the beginning of this blog post.

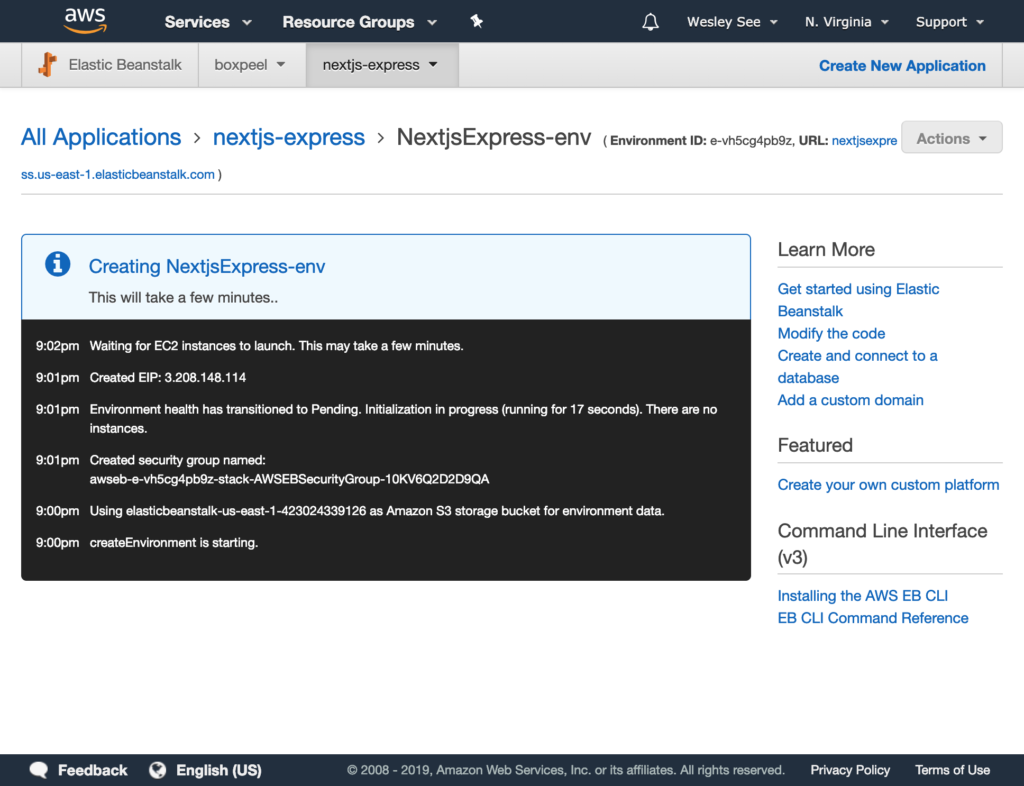
Click on “Create environment” to start the process!

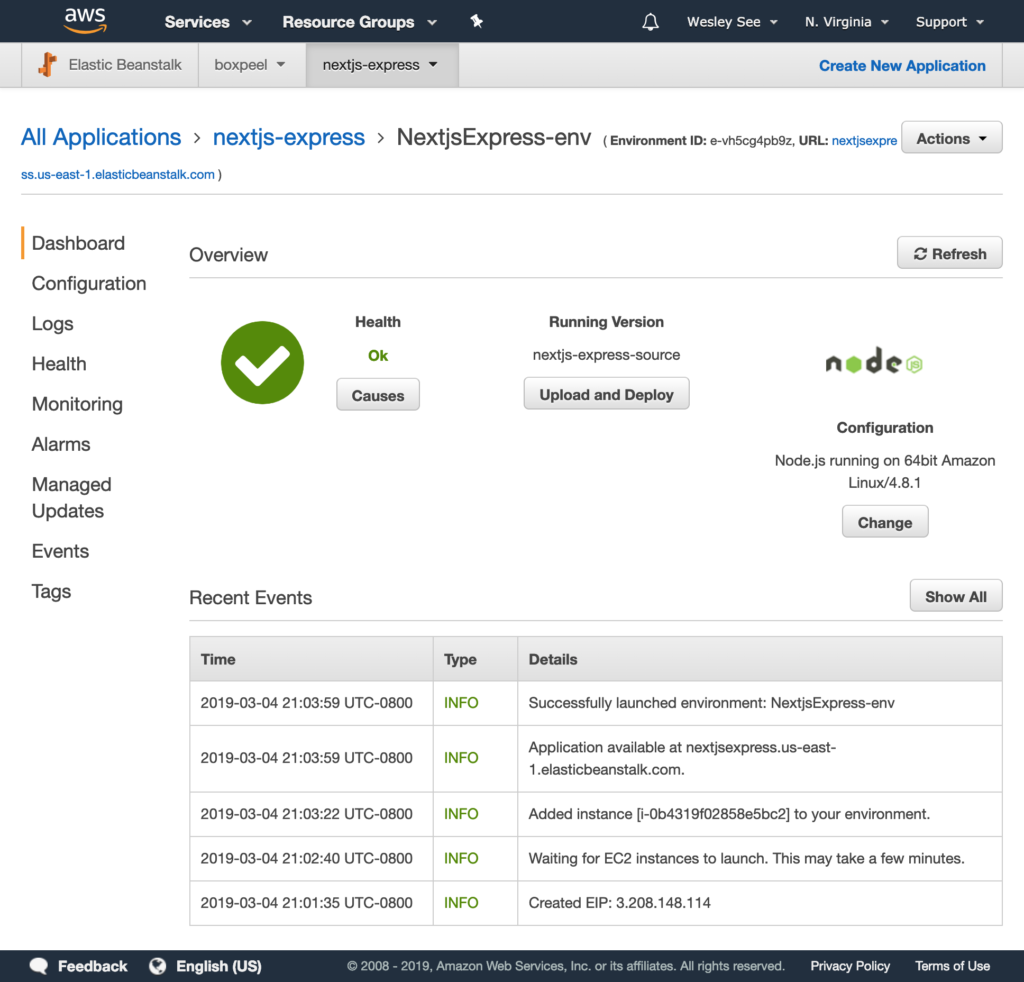
After a few minutes, you should see your completed environment.

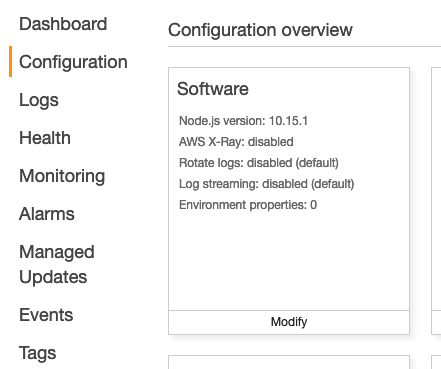
Almost done. Click on Configuration on the left side and then click Modify in the Software box.

In the Node command input box, enter: npm run deploy. This makes the environment run the deploy script as defined in the scripts section in the package.json file.

Make sure to hit the Apply button, and that’s all there is to it! The code should be deployed and reachable through the elastic beanstalk domain (i.e. <domain>.us-east-1.elasticbeanstalk.com).

Too lazy to create the files and copy/pasting the code? Download the files from the repo I made here: https://github.com/doobix/nextjs-express-demo

Hope this was helpful, let me know your thoughts in the comments section!

Updated to use HTTPS!

I’ve just enabled HTTPS on seewes.com, which was fairly easy to do on Dreamhost! Here is the breakdown done in 3 steps.

1. Enable Let’s Encrypt

In the Dreamhost admin panel, click on Domains and then SSL/TLS Certificates. Now in the list of domains, click on the Add button and select the Let’s Encrypt SSL Certificate option.

2. Update all resources to https

This is probably the longest and most tedious part of converting your website from http to https. Every image, stylesheet, and script source on the website needs to start with https. For me, I manually updated the image URLs on every single post that had an image. Luckily there weren’t that many. If you don’t update the URLs, the browser will show a mixed content warning:

3. Force your site to load securely

Now for the last step, we want people who visit the http version of the website to automatically be redirected to the https version. All we have to do is open up the .htaccess file in the root directory of the website and add these lines to the very top of the file:

RewriteEngine On
RewriteCond %{HTTPS} !=on
RewriteRule ^(.*)$ https://%{HTTP_HOST}%{REQUEST_URI} [L,R=301] 

Success!

Barbell Weight Calculator

Hi! Haven’t updated this blog in a while. Just wanted to say that I made a little web app using React to make calculating barbell weights easier.

For example, if we’re trying to lift 210 pounds, which plates do we need to get? By using the web app, it quickly tells us that each side of the barbell needs to have: 45lbs, 25lbs, 10lbs, and a 2.5lbs.

Check out the web app here: http://barbell.seewes.com

GitHub repo here: https://github.com/doobix/barbell

Screenshot:

Setting up a brand new OS X for web development

After getting a new MacBook for work, there were a few things I installed to make it better for coding, which I have listed below.

Oh My Zsh

Oh-My-Zsh is an open source, community-driven framework for managing your ZSH configuration. It comes bundled with a ton of helpful functions, helpers, plugins, themes, and a few things that make you shout… “Oh My ZSH!”

To install, run this command in terminal:

curl -L https://raw.github.com/robbyrussell/oh-my-zsh/master/tools/install.sh | sh

Solarized

A theme with a nice color palette to make looking at the terminal easier on the eyes.

Sublime Text

The best text editor for coding.

subl terminal shortcut

Edit ~/.zshrc , and add this line to the very end of the file:

alias subl='/Applications/Sublime\ Text.app/Contents/SharedSupport/bin/subl'

Restart terminal for the change to take effect.

Transferring to Google Domains

One of my domain names is expiring this month, and it would cost $11.98 + a $0.18 ICANN fee to renew for 1 year on Namecheap.com. I’ve been using them for a while now (since 2009), and I think it’s time for a change.

Google Domains (beta) came out this summer, and their domain price is exactly $12.00 for 1 year. Not to mention, they include some cool FREE features, such as the whois privacy guard and up to 100 email aliases. Namecheap.com charges $2.88 for their whois privacy guard, and $9.88 for only 1 email mailbox.

So, it was a no-brainer to transfer out of Namecheap.com and into Google Domains.

namecheap2googledomains

seeglassdoor – My First Chrome Extension

After graduating from Hack Reactor last month, I’ve been looking for companies to apply to. One thing that I found myself doing a lot of was visiting a company’s website, and then going to Glassdoor to see how employees rate that company. So I thought, wouldn’t it be nice to have a 1-click button that would display the Glassdoor ratings on demand? It would save a lot of time opening a new tab, going to Glassdoor.com, and then searching for the company.

Seeing that no such extension existed in the Chrome Web Store, I decided to create one myself. I had modified existing Chrome extensions before, but this was my first time creating a brand new extension from scratch.

Introducing… seeglassdoor!

The most difficult part was to figure out how to grab a URL from a current tab.

To grab a URL of a tab that you are viewing, you need the “tabs” permission in your manifest.json  file:

"permissions": [
  "tabs"
]

Then in your javascript, you will be able to use this code:

chrome.tabs.query({'active': true, 'lastFocusedWindow': true}, function (tabs) {
  var url = tabs[0].url;
  console.log(url);
});

Overall, this project was not a very difficult one, and was a good learning experience for my first Chrome extension. Feel free to take a look at my extension below.

Download seeglassdoor from the Chrome Web Store: https://chrome.google.com/webstore/detail/seeglassdoor/cgganckkpjppenjelhbimliplciledbb

GitHub seeglassdoor Project Repo: https://github.com/doobix/seeglassdoor

My Two-Day Solo MVP Project

YouTube Live

For my two-day solo Minimum Viable Product Project, I decided to make a website for sharing synchronized YouTube videos. This website would be good for people who want to watch a YouTube video together, at the same time, but aren’t in the same room. (Or maybe they are in the same room, but want to watch on separate devices.)

The user who enters a URL (a host) can play, pause, and seek the video. The users who watch the video (the viewers) will have their embedded players behave exactly the same as the host’s player. Pretty simple.

Scoping

My original idea had more features, but I quickly learned that I had to cut down the scope, and then cut it down again for it to be do-able in two days. I was going to have user sessions/authentication, rooms, and a chat box. I was also going to use Angular. But all those went away.

Requirements

The tools that I ended up using for this project are:

  • Node.js for the server
  • Firebase for the database
  • jQuery for getting the URL from the input box
  • YouTube Player IFrame API

Player API Functions

After embedding the YouTube player on my website, I needed access to some of the functionality. With the API, I was able to use these functions:

First, I use loadVideoById()  to load a YouTube video when a URL is submitted.

Then when the host’s player starts playing, the viewers will invoke playVideo() , otherwise pauseVideo()  in all other cases. I don’t use stopVideo()  because that will stop the player from buffering.

When the host is in paused state and moves the video to a new time position, this will invoke getCurrentTime() . The viewers will invoke seekTo()  to be at the new location.

Database

I’ve spent 15 minutes playing with Firebase during one of the other projects before, so I know how easy it is to set and get data. I love how Firebase automatically sends a trigger back to the website when a value is changed in the database.

In my Firebase database, I store 3 things:

  1. The state of the host’s video player (playing, paused, buffering, etc.)
  2. The YouTube video ID that the host is watching
  3. The time position of the host’s video player

Whenever host played or paused a video, Firebase sent a trigger which would invoke a callback function to play/pause all of the viewers’ video players. It was pretty simple.

If the host seeked the video ahead, Firebase would get the new time position, which would then again trigger a callback on the viewers’ video players and move them to the new time.

Same thing will happen when the host enters a new YouTube video ID.

Extra Feature

I also had some extra time, so I was able to add a search feature. The host can input search terms, and the first video result of the query will be loaded.

This is done by using the loadPlaylist()  function and passing this object for the argument:

{
  listType: 'search',
  list: 'the keywords to search'
}

Using this function will actually load a playlist of the first 20 videos found in the search, which I don’t want. So when the first video is playing, I invoke getVideoUrl()  to get the video’s URL, then I save the video ID to Firebase, and then play the video by ID to clear the playlist.

Stumbling Block

An obstacle that I ran into about 1 hour into the project was that I chose to use the YouTube Player JavaScript API. That doesn’t seem like a problem at all, right? Well, it wouldn’t be if the JavaScript API was able to embed the HTML5 video player. However, it only embeds the Flash video player, which iPhones and Androids don’t support! So the solution was kind of simple; I switched to the YouTube Player IFrame API.

Final Result

I deployed my code onto the Microsoft Azure platform, and you can view it here: http://youtube.azurewebsites.net/

YouTube Live Player
  • 1
  • 2